Manual A - How to edit a THEME DESIGN (Wedding, Birthday, Baby):
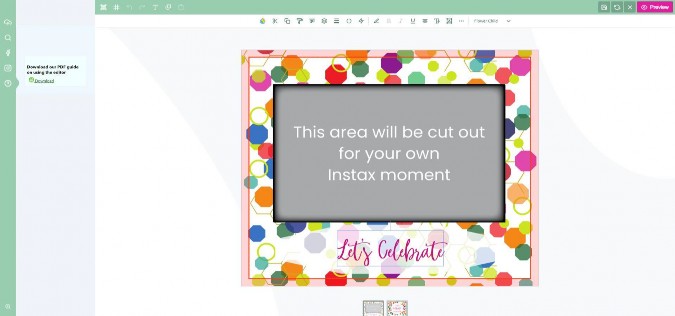
- Open a THEME design in the editor;
- The front page is enlarged, which you can now start editing (at the bottom you will see the front and back page minimized to switch easily back and forth);
- Start editing the concept text by clicking on it;
- Type your own text and delete the concept version;
- On top of your page all kind of buttons appear to edit your text;
- If desired you can use the following buttons/options:
- to change the font in the upper right corner;
- to change the height and width of your text;
- to curve/toggle your text by using the text box modus;
- to change the text size;
- to align your text;
- to make your text bold, italic or underlined;
- to transform your text (rotate/tip/diagonal);
- to make your text more transparent;
- to adjust the stroke width of your text;
- use layers to place one text box on top of the other;
- align text boxes;
- copy styles into another text box;
-
- copy the same text boxes;
- cut or delete a text box;
- or change the font colour of your text in the upper left corner.
- In the green top bar you can find some other buttons, like:
- Add a new text block;
- Produce your own QR-code;
- Toggle some grid lines to help align your text boxes;
- Undo your last step;
- Draw on your design or make a square or circle or straight line;
- If your design on the front page is ready, you can click on the minimized backside in the bottom of your screen.
- Now the backside opens enlarged on your screen and you can start designing this page by repeating the steps above.
- Always click on the Safe for later-button in the top green bar before closing your current session in order to start another time from where you left off (you will be asked to login first or register if you are a new client).
- If you need to clear your design and start over again, you can use the arrows-button in the top green bar.
- To stop editing and close the editor, click on the X-button in the top green bar. Just remember to first save your concept by using the “Safe for later”-button;
- At any time you can check your design in the Preview;
- If satisfied you can Submit your design to the cart;
- In the next page you can still change the Quantity of your order and click Add to cart;
- In order to safe your design correctly along with your order details, you will now have to login or register if you are a new client;
- Once you are in the cart, you can easily follow the checkout process with shipment and payment steps to finalise your order;
- A confirmation of your order and payment will be sent by mail shortly afterwards.
- HAVE FUN AND START DESIGNING YOUR OWN THEME STICKER FRAME!


